How to Plan Outdoor Audio on a Budget: The Definitive Editorial Guide
The expansion of the domestic living space into the exterior environment has necessitated a parallel evolution in acoustic engineering. While indoor audio benefits from the containment of four walls and a ceiling, which provide predictable reflections and a controlled noise floor, the outdoor arena is an acoustic vacuum. Sound waves in an open yard dissipate rapidly, competing with the “white noise” of wind, traffic, and neighborhood activity. Consequently, achieving a high-fidelity experience outdoors is not merely a matter of moving indoor speakers outside; it is a challenge of power management, speaker dispersion, and environmental resilience.
For many property owners, the initial foray into exterior sound is met with the sticker shock of professional-grade, buried-subwoofer systems that can easily exceed five figures. This high entry cost has created a bifurcated market: expensive, professionally installed “landscape audio” on one end, and underpowered, disposable Bluetooth portables on the other. However, a middle path exists for those willing to apply the principles of “Strategic Acoustic Mapping.” By focusing on the physics of sound and the efficiency of modern Class-D amplification, it is entirely possible to engineer a sophisticated sonic environment without a massive capital outlay.
The core of a successful budget strategy lies in “Zone-Based Thinking.” Rather than attempting to saturate a half-acre with a single, high-volume source—which leads to distortion near the speakers and complaints from neighbors—the goal is to create “Pockets of Intimacy.” This involves the calculated placement of multiple low-wattage drivers that prioritize clarity and near-field coverage. When one masters the logic of dispersion and the cost-efficiency of wired versus wireless infrastructure, the path to a high-performance outdoor retreat becomes clear. This definitive reference explores the analytical frameworks and tactical steps required to achieve acoustic excellence under strict fiscal constraints.
How to plan outdoor audio on a budget
The primary obstacle in learning how to plan outdoor audio on a budget is the “Volume vs. Coverage” misunderstanding. Most novices assume that a louder speaker will cover more ground. In reality, sound follows the “Inverse Square Law,” meaning the sound pressure level (SPL) drops by 6 decibels every time you double the distance from the source. To compensate for this outdoors, the budget-conscious planner should opt for a “High-Density, Low-Volume” array. By placing four smaller speakers at the corners of a patio rather than two large speakers on the house wall, you create an even “blanket” of sound that requires less total power and significantly reduces “Sonic Bleed” into neighboring properties.
A second technical pillar involves the choice of “Signal Path.” Wireless speakers are often marketed as the ultimate budget convenience, yet they represent a poor long-term investment for fixed outdoor installations. The cost of weatherproofing internal batteries and radio receivers typically results in lower-quality drivers for the same price point. Conversely, a wired system utilizing “Passive” outdoor speakers and a centralized indoor amplifier allows for a much higher “Dollar-to-Driver” ratio. This architecture also places the sensitive electronics—the “Brain” of the system—inside the climate-controlled house, ensuring the system survives for a decade rather than a single season.
Furthermore, mastering how to plan outdoor audio on a budget requires a focus on “Boundary Reinforcement.” In an open field, sound waves travel in all directions (omnidirectional), losing energy quickly. However, by mounting speakers against a wall or under an eave, you utilize the surface to reflect sound forward. This “Quarter-Space Loading” can provide an audible 3-to-6-decibel boost in bass response for free. Strategic placement against existing structures is the most effective way to squeeze professional performance out of entry-level hardware.
Contextual Evolution: From Mono Portables to Networked Exteriors
Historically, outdoor audio was limited to the “Transistor Radio” era, where a single, low-fidelity speaker provided background noise for social gatherings. The 1990s introduced the “Rock Speaker” and the first generation of “All-Weather” brackets, but these were often thin-sounding and lacked any meaningful low-end. They were “Add-on” products rather than integrated systems.
By 2026, we have moved into the “Streaming Mesh” era. The cost of high-quality Digital-to-Analog Converters (DACs) has plummeted, and Class-D amplifiers—which are small, efficient, and run cool—have made it possible to hide a powerful 100-watt amp inside a small weather-tight junction box. This technological deflation means that the “Budget” gardener now has access to the same high-resolution audio streams and multi-zone control logic that was once the exclusive domain of luxury estates.
Conceptual Frameworks and Mental Models
To navigate the myriad of choices in the market, one should utilize these specific mental models:
-
The “Ambient Floor” Model: Before buying gear, measure the noise level of your yard during a typical afternoon. Your system must be able to peak at least 15-20 decibels above this floor without distorting. If you live near a highway, you need “Directed” audio (horns or pendants) rather than “Dispersive” audio.
-
The “Infrastructure First” Rule: Spend the majority of the budget on high-quality, direct-burial rated speaker wire (14-gauge or lower). Speakers can be upgraded easily as your budget grows, but digging up a failed, thin-gauge wire is a costly and labor-intensive failure.
-
The “Stereo Image” Fallacy: In a garden, people move around. The traditional indoor “Sweet Spot” for stereo listening does not exist. A smart budget plan often utilizes “Summed Mono” wiring, ensuring that every speaker plays the full song, preventing “Lopsided Listening” where a guest only hears the guitar and not the vocals.
Key Categories of Exterior Audio Architectures
Selecting the right physical delivery system is a balance between aesthetic invisibility and acoustic impact.
| Category | Primary Benefit | Budget Efficiency | Main Weakness |
| Eave-Mounted Brackets | Uses house for bass boost | High (Cheaper cabling) | Sound “beams” from above |
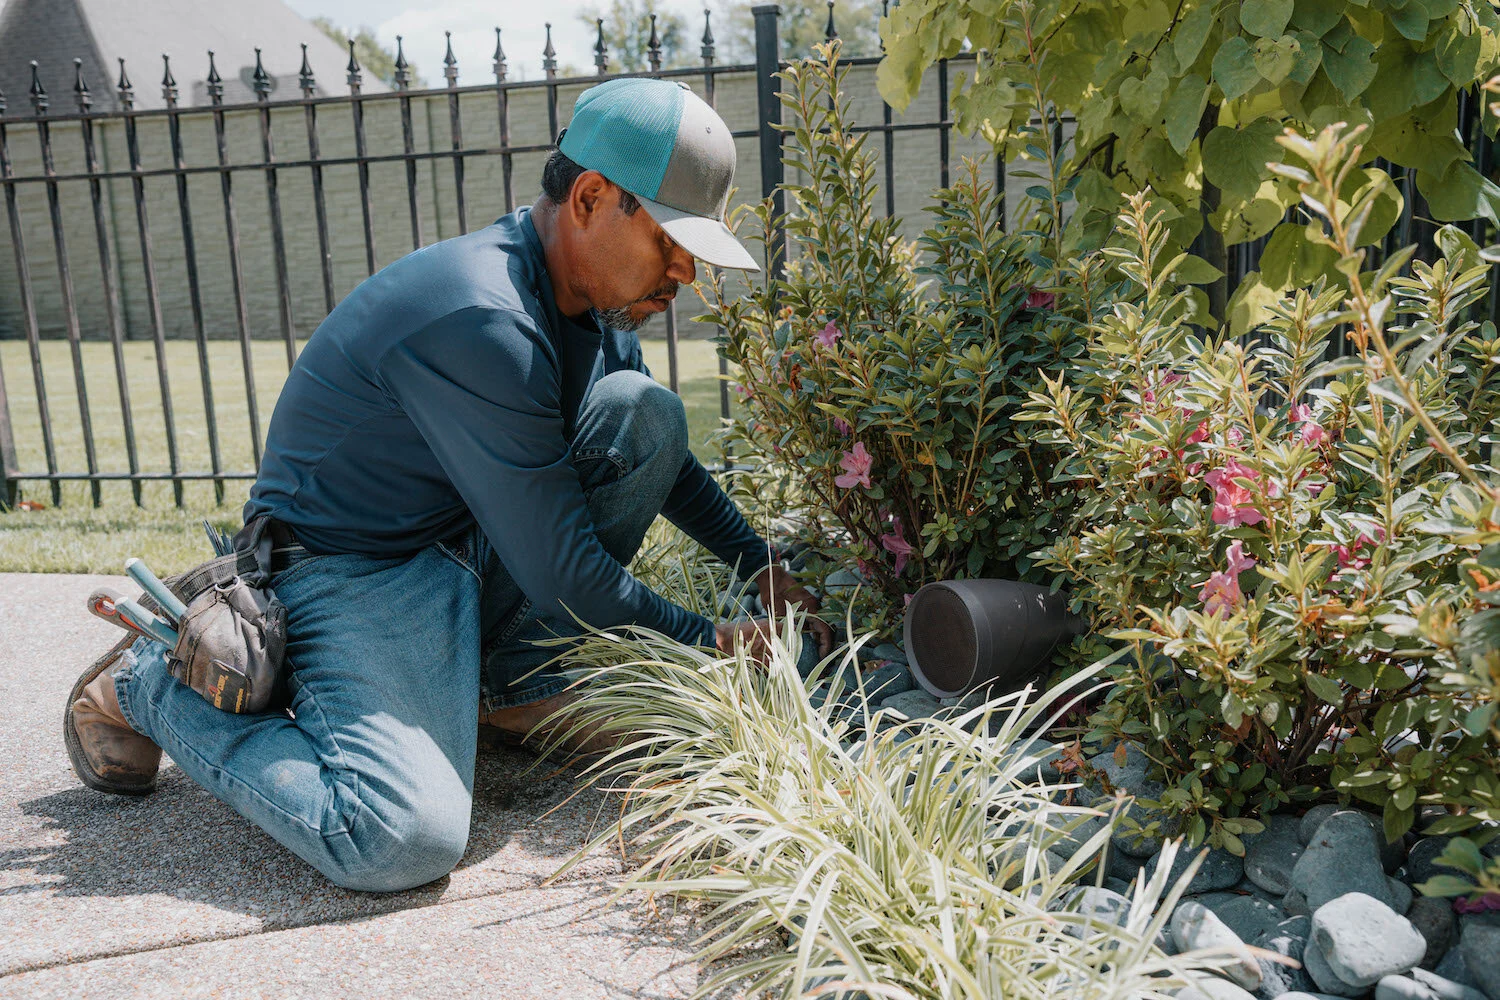
| In-Ground Satellites | “Invisible” within foliage | Moderate (Requires burial) | Vulnerable to weed-whackers |
| Surface Pendants | 360-degree dispersion | Low (Higher hardware cost) | Hard to mount without a roof |
| Portable Bluetooth Mesh | No installation required | High (Short-term) | Battery decay; limited range |
| Planter Speakers | Dual-purpose utility | Moderate | Limited internal air volume |
| Underground Subs | True “Full-Range” sound | Very Low | Expensive to purchase & power |
Realistic Decision Logic
A critical decision for the property owner is the “Amp Location”. Placing the amplifier inside the home and running wires through a wall is the “Pro-Budget” move. It allows you to use a standard, non-weatherproof amplifier (often a used receiver found for under $100) and spend the savings on better-quality outdoor-rated speakers.
Detailed Real-World Scenarios and Constraints
Scenario 1: The “Narrow City” Patio
A small, fenced-in area with close neighbors.
-
The Strategy: Use “Near-Field” speakers mounted at waist-height, tilted slightly downward toward the seating area.
-
The Fix: Two small 4-inch “Bookshelf Style” outdoor speakers placed 6 feet from the listeners.
-
Failure Mode: Mounting large speakers high on the wall, which “projects” the sound over the fence and into the neighbor’s bedroom.
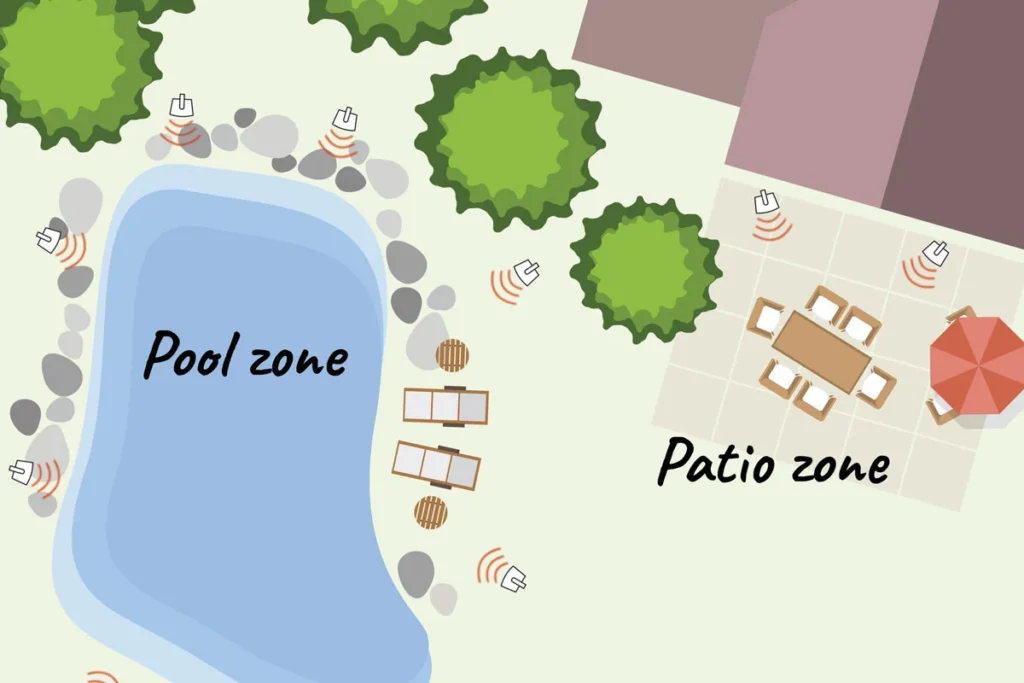
Scenario 2: The Multi-Zone Backyard
A patio for dining and a separate fire pit 40 feet away.
-
The Strategy: Use an “A/B Switch” or a 2-zone Wi-Fi streamer.
-
The Fix: Wiring the fire pit speakers in a “Series” configuration to maintain proper impedance on a single, budget-friendly amp.
-
Constraint: Requires “Direct-Burial” 14/2 wire, which adds to the initial labor but eliminates long-term maintenance.
Planning, Cost, and Resource Dynamics
The economic logic of how to plan outdoor audio on a budget is built on “Component Longevity.”
| Tier | Typical Hardware | DIY Labor | Lifespan |
| Entry (Under $300) | 2 Eave Speakers + Used Amp | 2-4 Hours | 5-7 Years |
| Mid ($300 – $800) | 4 Stake Speakers + Wi-Fi Streamer | 8-10 Hours | 8-10 Years |
| High ($800 – $1,500) | 6 Satellite Speakers + Dedicated Sub | 15+ Hours | 10+ Years |
Opportunity Cost: Choosing a $200 Bluetooth “All-in-One” rock speaker often results in a replacement purchase within 24 months due to battery failure or sun-bleached plastic. A $200 wired pair of eave speakers will likely outlast the homeowner’s tenure.
Tools, Strategies, and Support Systems
A definitive budget plan utilizes these specific strategies:
-
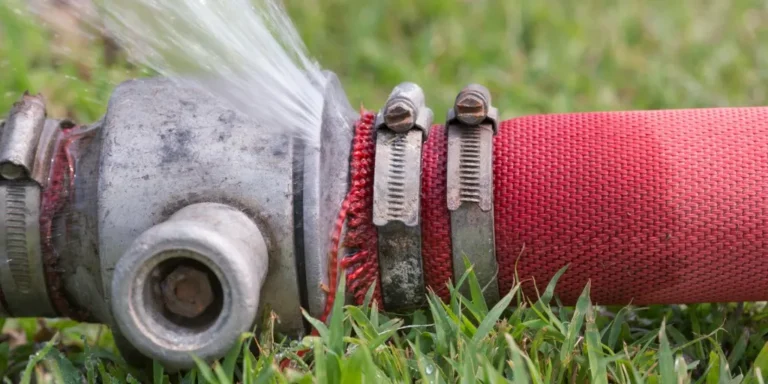
Direct-Burial Wire (CL3 Rated): This wire is jacketed in specialized polyethylene that resists moisture and soil acidity. Never use standard indoor “Zip Cord.”
-
Silicone-Filled Wire Nuts: Essential for all underground connections to prevent copper oxidation (green corrosion).
-
Volume Controls (Impedance Matching): If running multiple speaker pairs off one amp, use a “Matching” selector box to prevent the amp from overheating.
-
Weatherproof Junction Boxes: Placing your connections inside a $10 PVC box adds an extra layer of defense against irrigation spray.
-
Drip Loops: Ensuring the speaker wire sags below the entry point of the speaker or the house wall, forcing water to drop off before it enters the electronics.
-
EQ Correction: Using the “Bass/Treble” knobs (or app-based EQ) to compensate for the “Open-Air” loss of low frequencies.
Risk Landscape and Failure Modes
Outdoor audio faces “Compounding Attrition” from several factors:
-
The “Clipping” Risk: Because the outdoors is quiet, people often push budget amps to their limit. This causes “Clipping,” which sends a distorted signal that can melt the voice coils of the speakers. Always choose an amp with 20% more power than the speakers’ RMS rating.
-
Insect Ingress: Small spiders and wasps love the “Port Tubes” of outdoor speakers. Choosing “Sealed” (Acoustic Suspension) designs or covering ports with fine mesh is a critical maintenance-saver.
-
The “Ground Loop” Hum: If your outdoor amp is plugged into a different circuit than your source (like a TV), you may get a loud buzz. This is solved with a $15 “Isolation Transformer.”
Governance, Maintenance, and Long-Term Adaptation
A budget system is a “Living Asset” that requires an annual “Spring Startup” protocol.
Layered Maintenance Checklist:
-
Visual Inspection: Check for cracked speaker cones or loose mounting brackets.
-
Terminal Clean-off: Remove any “Scale” or corrosion from the back of the speakers.
-
Amp Dusting: Ensure the indoor amplifier has proper airflow; dust buildup is the #1 cause of amp failure in secondary zones like garages or basements.
-
Wire Depth Check: After heavy rains or frost heaves, ensure buried wires haven’t surfaced where a mower could catch them.
Measurement, Tracking, and Evaluation
True topical mastery involves measuring the “Acoustic Footprint” of your system:
-
Leading Indicators: “Impedance Testing”—using a multimeter to ensure your speaker lines still show the correct Ohms (usually 4-8). A sudden jump in Ohms indicates a corroding wire.
-
Lagging Indicators: Total “Uptime” without service; “Neighbor Satisfaction” (lack of complaints).
-
Qualitative Signal: “Clarity at Low Volume.” If you have to turn the music up to hear the lyrics, your speaker placement is flawed.
Common Misconceptions and Industry Myths
-
“Wireless is cheaper.” Wireless requires power outlets. Running high-voltage Romex to an outdoor outlet is far more expensive and dangerous than running low-voltage speaker wire.
-
“Marine-grade is best.” Marine gear is designed for salt-spray and vibration. It is often overpriced for a land-based backyard where “Weather-Resistant” is more than sufficient.
-
“You need a subwoofer for bass.” While a sub helps, four 6.5-inch speakers mounted against a wall will produce surprisingly rich low-end through “Boundary Gain.”
-
“Bluetooth covers the whole yard.” Standard Bluetooth drops out at 30 feet. For a budget yard, a “Wi-Fi Bridge” or a long-run wire is the only reliable signal path.
Conclusion
The pursuit of how to plan outdoor audio on a budget is an exercise in “Acoustic Sovereignty.” It is the refusal to accept the compromise of poor sound in exchange for a lower price tag. By understanding the physics of sound dispersion, the efficiency of wired infrastructure, and the importance of environmental protection, property owners can build a sonic sanctuary that rivals professional installations. The most successful systems are not those with the largest speakers, but those that have been carefully edited and placed to respect both the listener and the environment. In the end, the “Smart” budget plan is one that prioritizes long-term reliability and tonal clarity over temporary convenience.